
Freelancers and small business owners often spend five to ten hours per week on social media. That time disappears quickly. You write captions, resize images, post to each platform, and repeat the same work daily. The process rarely produces immediate revenue. It does not build client relationships on its own. Automation changes this. You can use AI automation tools to schedule, repurpose, and post content automatically. The goal is not to remove your voice. The goal is to remove repetitive clicking. You stay in control while the busy work runs in the background. That frees time for billable client work.
Buffer handles the scheduling calendar. Zapier and n8n handle the moving parts. For example, a new blog post can trigger a workflow. That workflow can use AI to write a short social caption. It can then send that caption to Buffer as a draft. You approve or reject it. This is set-and-forget posting with a human checkpoint. The result is a steady stream of content without daily manual work. You still decide what goes out. You just avoid logging into five apps. The method works for freelancers and small teams with limited time.
The setup does require some planning. You need to choose a source of content. That source could be a blog, a YouTube channel, or a simple spreadsheet. You need to map the flow from source to platform. You also need to understand free-tier limits before you scale. Zapier vs Make compares popular automation options. n8n also deserves attention because it is flexible and self-hostable. This guide walks through a practical build using Buffer, Zapier, and n8n. You will see how they fit together. You will also avoid common mistakes that waste hours.
I will show you how to connect Buffer, Zapier, and n8n. You will learn how to repurpose one piece of content into many posts. You will also learn common mistakes that break automations. By the end, you will have a simple system you can run on a small budget. That system will keep your social channels active while you focus on client work. It will also scale when you are ready. The first version should be simple. Simplicity is what makes set-and-forget posting reliable.
What You’ll Need
- Buffer account
- Zapier account
- n8n instance or cloud account
- One content source (RSS feed, Google Sheet, or blog)
- OpenAI API key or similar AI service
How Do You Automate Social Media Posting with AI Tools?
- Audit your current social workflow and pick one source of truth.
Start with a simple audit. List every platform you currently post to. Write down how often you post. Note which posts perform best. This matters because automation amplifies whatever process you already have. If your manual process is messy, automation will make it messier. So the first step is not about software. It is about clarity. You need one source of truth. That could be a blog, a YouTube channel, a podcast RSS feed, or a Google Sheet. Pick one for the first version of your automation.
Why one source? A single source keeps the workflow simple. Each tool has limits. Zapier free includes 100 tasks per month and five single-step Zaps. n8n self-hosted is free but you still pay with your time. If you connect too many sources at once, you will hit confusing errors. Start with the content you already create. For most freelancers, that is a blog or a portfolio. If you do not have a blog, use a Google Sheet with ready-to-post ideas. That sheet can act as your queue.
Think about approval before publishing. Set-and-forget does not mean zero oversight. You can set Buffer to a draft state instead of publishing immediately. This gives you a final checkpoint. You might want to preview image cropping or edit AI captions. Without approval, a small AI mistake can go live. One wrong tone can hurt your brand. So your audit should also mark which channels need a human check.
The audit connects directly to the next step. Once you know the source and the channels, you can configure Buffer. Write down the exact social accounts you want to connect. Include Instagram, LinkedIn, X, Facebook, or TikTok as needed. Also note any platform-specific formats. Instagram prefers square images. LinkedIn allows longer text. This detail will matter when you build the AI prompts later. If you need help generating source content, read how to automate content creation with AI.
- Connect Buffer as your scheduling hub.
Buffer is the front end of your automation. It holds the queue, manages each platform account, and tracks basic performance. Start by signing up for a free Buffer account. The free plan supports three channels and ten scheduled posts per channel. That is enough to test the system. If you need more, paid plans start around six dollars per channel per month billed annually. For most solo operators, the free tier works for a pilot.
After signing up, connect your social accounts. Go to settings and follow the authorization flow. Buffer will ask for permissions. Accept only what is needed. For example, if you use LinkedIn, choose the right company page or personal profile. A common mistake is connecting the wrong brand page. Then the automation posts to the wrong audience. Double check each channel before moving on.
Set up a posting schedule for each channel. Buffer has a timeslot feature. You can set specific days and times. Your automation will fill those slots from a queue. This schedule is your baseline. Later, you can adjust based on engagement data. For now, choose three to five slots per week. That prevents flooding and gives each post room to breathe.
Create a test post manually. This confirms the connection works. Upload an image or paste a caption. Schedule it for a time 24 hours out. Check the preview. Buffer will show you how the post looks on each platform. If something looks off, fix it now. This step matters because future automated posts will skip this manual check. You want the baseline to be solid. The next step connects a source to Buffer using automation.
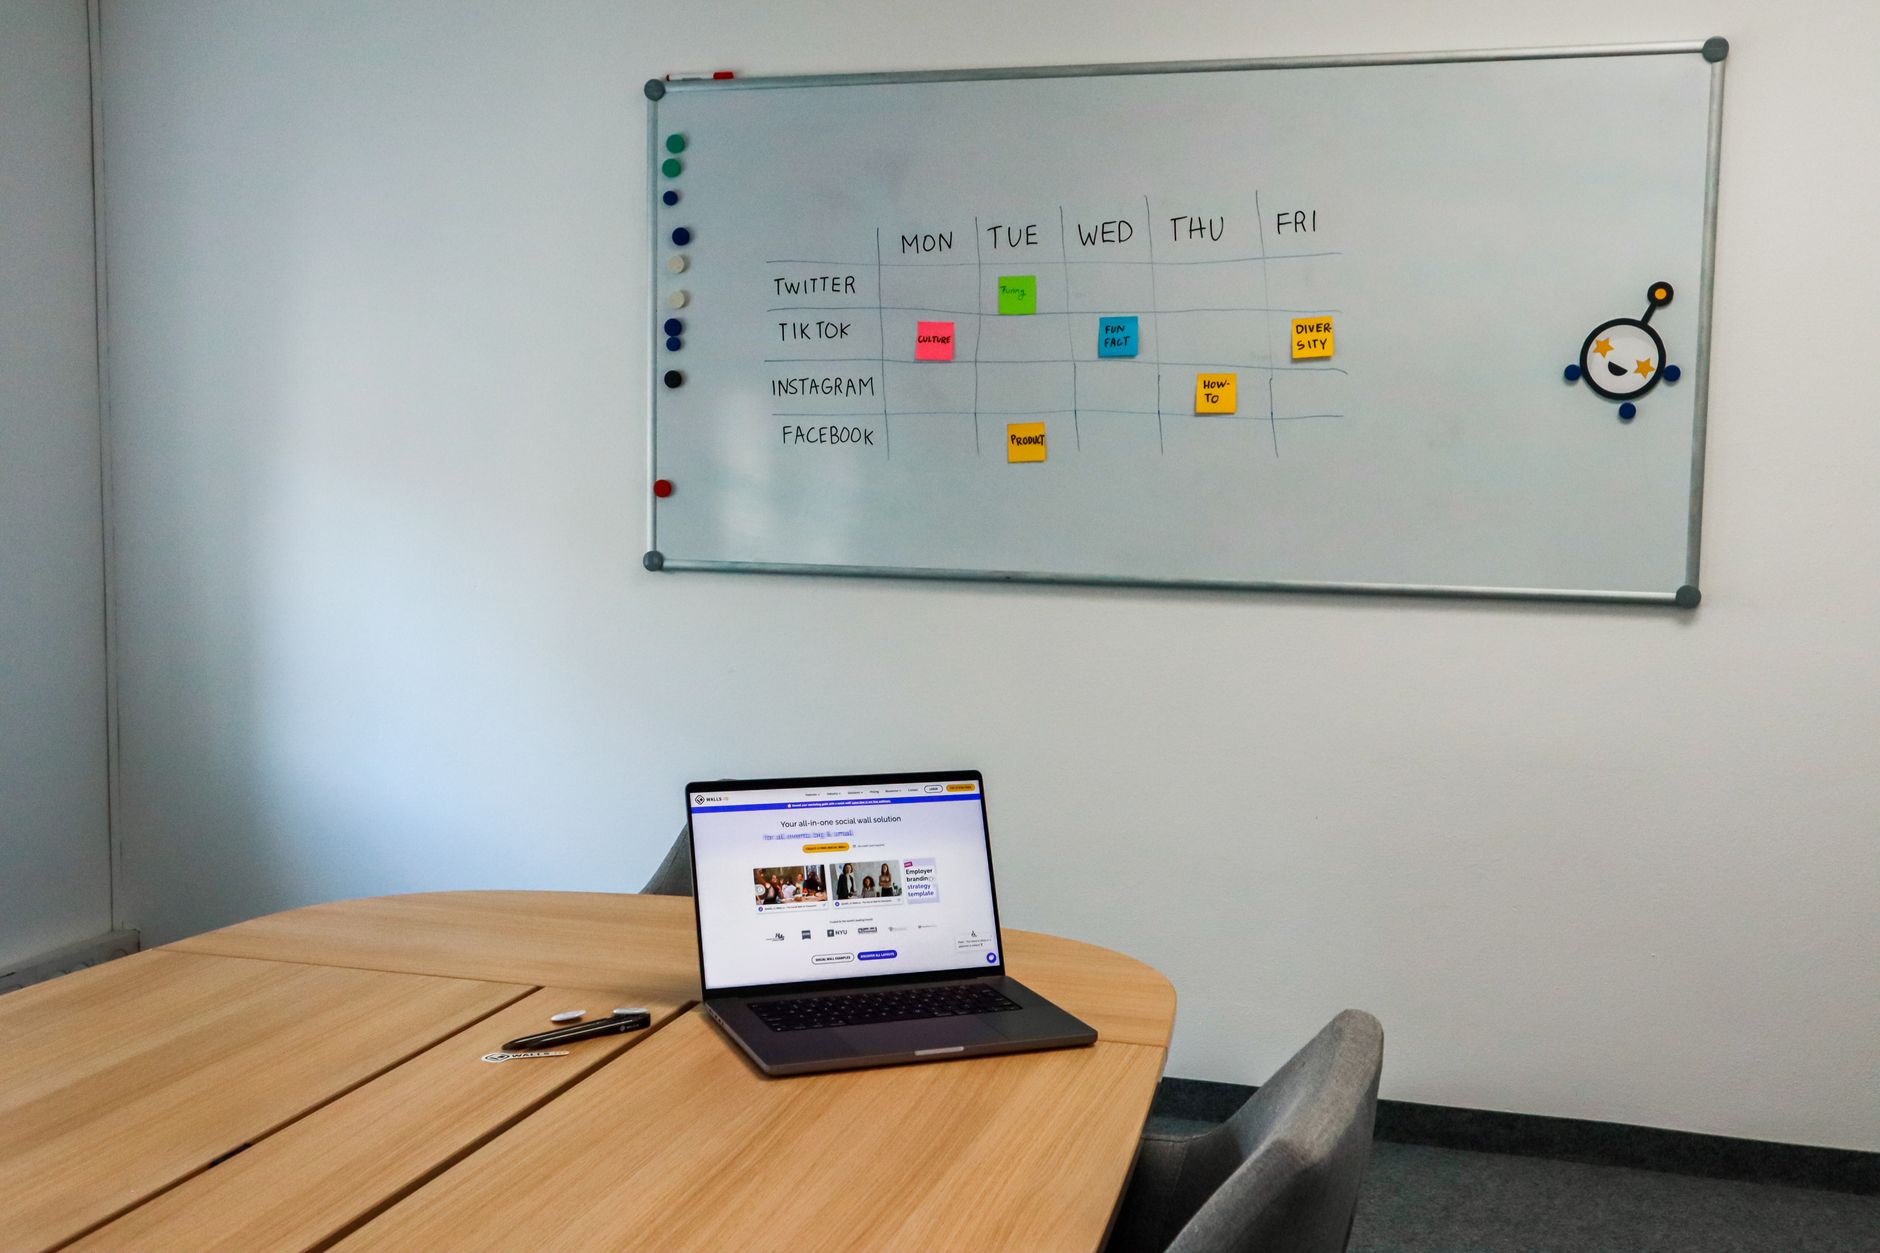
- Build a Zapier bridge from your content source to Buffer.
Zapier handles simple triggers and actions. It works well for moving data between supported apps. For example, if you publish a blog post on WordPress, Zapier can detect that event. It can then format a social caption and send it to Buffer. Buffer has an official Zapier integration. That means you do not need custom code for the basic connection. But free plan limits matter. Zapier free includes 100 tasks per month and five Zaps. Each step in a Zap counts as a task. A two-step Zap uses two tasks per run. So 100 tasks may only cover 50 posts per month. Plan accordingly.
To set it up, open Zapier and create a new Zap. Choose your trigger app. If you use WordPress, select New Post. If you use Google Sheets, select New Spreadsheet Row. If you use RSS by Zapier, select New Item in Feed. The trigger app depends on your source from Step 1. Follow Zapier’s test process to pull in a sample record. This sample data helps you map fields later. Zapier’s help documentation explains each trigger in detail.
Next, add a Buffer action. Search for Buffer and choose Create Post. Connect your Buffer account. Map the source fields to Buffer fields. For example, map the blog post title to the caption field. Add a link field with the post URL. You can also map an image URL if your source provides one. Do not try to write the final caption in Zapier. You want a simple bridge first. You can use another tool like n8n for AI text later. If you want a deeper comparison, read Zapier vs Make or Zapier review.
Set the Buffer action to create a draft, not a published post. This is the approval checkpoint. In Buffer’s Zapier action, choose Add to Queue or Create Draft. The exact label may vary. A draft means you can review before it goes live. That gives you control while still saving time. After you test the Zap, you will have one automated pathway. But the captions will still be plain text from the source. The next step adds AI repurposing.
- Add an n8n workflow for AI caption and repurposing.
n8n is better for multi-step logic. You can self-host the community edition for free. That means no monthly task fee for basic usage. According to n8n’s documentation, you can trigger a workflow on a schedule or via webhook. But here’s the thing. n8n has a steeper learning curve than Zapier. So use n8n for the part Zapier struggles with. That part is AI text generation and content repurposing. You can keep the simple Zapier bridge from Step 3. Or you can move the entire flow to n8n if you want to avoid Zapier’s task limits. Many freelancers choose n8n after hitting the Zapier free tier ceiling.
Start with a source node. If you used Zapier, you can skip this section and use n8n only for the AI step. But a cleaner design is to put everything in n8n. Add an RSS Feed Read node. Point it to your blog’s RSS feed. Set the interval to check every few hours. n8n will pull new posts. Alternatively, use a Google Sheets node to read rows flagged as ready.
Add an AI node. n8n has a LangChain integration and an OpenAI node. You can also use the HTTP Request node to call any AI API. The goal is to turn one long blog post into several short social captions. Write a prompt that includes the source content. Ask the AI to output three captions. Each caption should be under 280 characters. One should be casual, one professional, and one question-based. This gives you variety across platforms.
Add a Buffer node. You can use n8n’s HTTP Request node to call the Buffer API. Configure the node to create a draft post for each caption. Loop over the AI output and send each one to Buffer. Set the same approval checkpoint. If you want a gentler n8n start, read n8n beginner guide. This step connects the AI brain to your scheduling hub.

- Create a master content queue and approval flow.
The queue is where set-and-forget becomes real. Buffer holds posts in order. You can set each channel to draw from this queue at specific times. But you need a naming convention or tag system. For example, use labels like evergreen, client-work, AI-generated, or needs-edit. In Buffer, tags help you filter drafts. If your team includes a VA or a client, tags make approval faster.
Set up a daily approval window. Fifteen minutes is enough. Log into Buffer, open the drafts, and scan each post. Check the caption, the link, and the image. Fix anything off. Then move it to the queue. This tiny step prevents most AI mistakes. You can also use an AI tool to score your drafts before you see them. For example, an n8n subworkflow can check for broken links or missing images. That adds another safety layer.
Consider a two-stage queue. Stage one is drafts from automation. Stage two is approved posts ready to publish. You can use Buffer’s shuffle queue feature. Or you can manually drag posts to the top. The goal is to always have a buffer of approved content. If a client meeting runs long, your social media still posts. That is the core payoff. You are not creating daily. You are reviewing a batch.
This step matters because automation without a queue turns into a firehose. You might post three times in one day. Then nothing for a week. Buffer’s timeslots prevent that. The queue keeps a steady pace. If you want other tasks to automate alongside social media, see daily business tasks to automate with AI. That list can help you find more time savings.
- Test with a small batch before scaling to all platforms.
Do not connect every account on day one. Start with one platform. LinkedIn or X is usually the easiest. Run the automation for one week. Watch what happens. Check whether the AI captions match your tone. Check whether Buffer posts at the right time. Check whether images load. This small batch will reveal problems that you cannot see in a single test run.
Create five test posts. Use real content from your source. Schedule them two days apart. Turn off any automatic publishing until you review. In Buffer, keep them as drafts. In Zapier or n8n, make sure the action creates drafts. This is the most common mistake people make. They set the action to publish immediately. An AI caption with a typo goes live while they sleep. Draft mode is your friend.
After five posts, review the results. Did the posts appear in the correct channel? Did the link preview render? Did the caption length fit the platform? Did the hashtags work? Look at your Buffer analytics. Note any post with low engagement or broken formatting. This data tells you what to adjust. For example, if Instagram captions are too long, change the AI prompt. If LinkedIn posts ignore line breaks, adjust the text mapping.
Once the batch passes, add a second platform. Keep the same approval window. Add a third only after the second runs clean for a week. This gradual rollout prevents brand damage. It also keeps you from drowning in edits. If you need broader AI tool ideas for your small business, see AI tools for small business. That guide can help you pick the right AI support.

- Add a performance feedback loop and refine prompts.
Set-and-forget does not mean never improve. After two weeks, look at your analytics. Identify the best performing posts. What do they have in common? Maybe questions get more replies. Maybe short captions get more clicks. Use that data to update your AI prompt in n8n. For example, if question posts do better, ask the AI to write only question-based captions. If long-form posts do better on LinkedIn, generate longer versions for that channel.
You can also automate the feedback loop. Some teams use a Google Sheet to log post performance manually. Then an n8n workflow reads that sheet weekly. It compares top posts and bottom posts. It feeds that summary back to the AI prompt as examples. This is advanced but very effective. It turns your automation into a learning system. The n8n documentation has examples of scheduled workflows that can read data and pass it to an AI model.
Keep an eye on costs. Zapier’s free plan may not be enough once you scale. If you exceed 100 tasks per month, Zapier will pause your Zaps. You can then move everything to n8n self-hosted. n8n cloud Starter starts around 20 euros per month for 5 active workflows and 2,500 executions. That is often cheaper than Zapier’s paid plans for light users. You need to decide which tool fits your volume. This comparison between best AI automation tools can help you choose.
Finally, document your workflow. Write a short note that explains where each tool connects. Include account names, tags, and the approval schedule. If you ever take a week off, you can hand the system to a VA. If something breaks, you can troubleshoot faster. This documentation is the difference between a one-off experiment and a permanent system. It also makes client work easier if you manage social media for others.
Red Flags & Warnings
- 🚨 Never set Buffer to publish immediately while testing. Use drafts until you trust the output.
- 🚨 Do not connect every social account at once. A mistake on one platform can spread fast.
- 🚨 Watch Zapier’s task limit. A two-step Zap uses two tasks per run. You can hit 100 tasks quickly.
- 🚨 AI captions can be tone deaf. Always review for brand voice, copyrighted phrases, and factual claims.
- 🚨 Keep your n8n credentials and Buffer accounts secure. Use least privilege and rotate tokens if needed.
- 🚨 If you self-host n8n, update it regularly. Outdated versions may have security bugs.
Frequently Asked Questions
Can I fully automate social media posting without any approval?
You can, but it is risky. AI captions may contain errors or wrong tone. A small approval step in Buffer drafts keeps quality high. Most freelancers find 10 to 15 minutes per day is enough.
What is the cheapest way to automate social media posting?
Use Buffer free for scheduling, Zapier free for a simple bridge, and n8n self-hosted for AI repurposing. This stack costs zero in tool fees. You only pay for AI API usage, often a few dollars per month. Scale later only when volume exceeds free limits.
Which is better for social media automation, Zapier or n8n?
Zapier is easier for simple app connections and has a huge integration library. n8n is better for multi-step logic, AI workflows, and avoiding monthly task fees. Many users start with Zapier and move to n8n as their needs grow.
How does Buffer free plan work for automation?
Buffer free supports three channels and ten scheduled posts per channel. Your automation can create drafts within those limits. If you need more channels or a larger queue, paid plans start around six dollars per channel per month.
Can I repurpose one blog post into five social posts automatically?
Yes. Use an n8n workflow with an RSS trigger and an AI node. Ask the AI to output multiple captions of different lengths and tones. Then send each caption to Buffer as a separate draft. Review them before publishing.
What is the biggest mistake people make with social media automation?
They skip the test batch and publish AI content directly. Start with one platform and five drafts. Review the results, adjust prompts, then scale. This prevents embarrassing brand mistakes.
What Should You Remember?
- Start with one source. Connect a blog, RSS feed, or sheet before adding more.
- Use Buffer as the scheduling hub. Keep drafts for a daily approval check.
- Respect Zapier’s free tier. 100 tasks per month may limit you to about 50 posts.
- Let n8n handle AI repurposing. Self-hosted n8n avoids per-task fees.
- Test in small batches first. One platform, five posts, then review.
- Add a feedback loop. Feed engagement data back into your AI prompts.
- Document the workflow. A short note saves hours when something breaks.
This article is for general information only. Review your workflow data and automation permissions before connecting tools. Some platforms have free-tier limits and paid plans that change over time , always check current pricing on the vendor’s site.